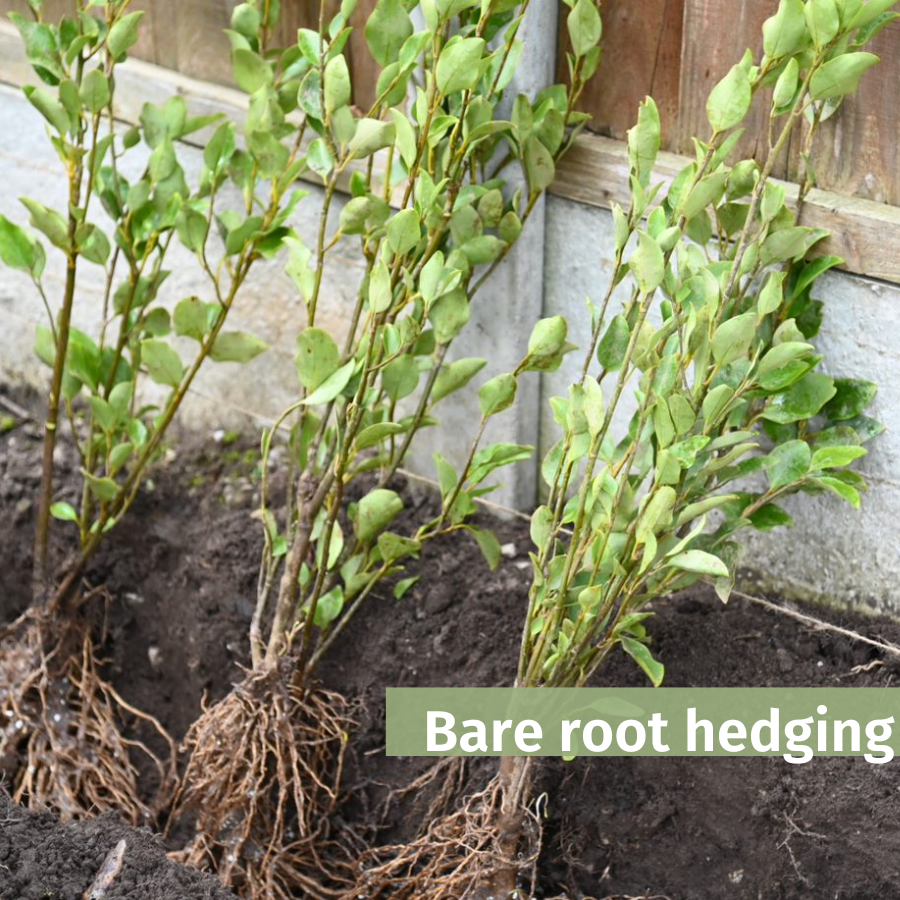
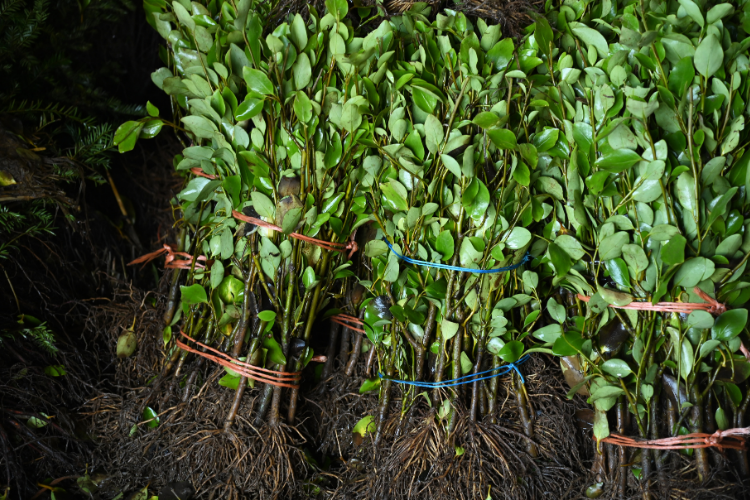
Planting a bare root hedge
Here's our step-by-step instructions for planting your bare roots:
- Firstly, you need to treat your bare roots with Rootgrow. Make a paste with the granules and water which will be applied directly to the roots. This all organic, natural treatment is RHS-endorsed because it allows them to establish in a much faster time. It contains friendly fungi to help the roots to take up the nutrients and water from the surrounding soil. Using both Rootgrow and Bonemeal gives your bare roots the absolute best chance of successfully establishing with lots of healthy growth.
- Dip each bare root in the rootgrow then gently put them into the trench with even spacing between each one. If using canes to support rabbit guards, position them carefully to avoid damaging the roots.
- When planting, roots should be spread out carefully in the trench - don’t twist or force them.
- Once all the bare roots are in place, backfill the trench with soil. Do this in several stages, stopping to gently firm each layer down with either your foot, or the back of a spade. This helps to eliminate air pockets and ensures good root-to-soil contact.
- Make sure the soil supports the plants but isn’t compacted too much to avoid any root damage.
- Keep repeating this process until your trench is full and the roots are covered with just stems showing and in particular the 'collar' which is the start of where the stem grew above ground.
- Now water. Doing this immediately after planting is vital, even in winter. Watering helps settle the soil and helps the roots hydrate straight away. Each plant will need a good dousing to make water reaches the roots - around 5 litres each, and then regular watering for the first year or two, at least twice weekly.
Mulching and moisture retention
A great way of protecting your bare roots after planting is to put bark chippings or a mulch mix around them, covering the surface. Why? Well this has several benefits: it helps to retain moisture in the soil and protects from frost, plus it also stops weeds from taking hold. Just be sure to leave a little space around the stems to avoid direct contact, which can cause rot.
How to protect young hedges
Young hedges are delicate and do need protection from wind and in some areas from wildlife too, especially in rural areas. For deciduous hedging plants in areas with rabbits or deer, rabbit guards will help protect your plants and stop any stripping of the lower leaves. Canes will pin the guards in place. Canes or windbreak netting can also help support plants in windy areas as strong winds can displace plants. If livestock are nearby, then a temporary fence can protect the hedging plants until they are established.
Hedge aftercare and maintenance
It’s really important to care for your hedge plants in the first few years after planting to encourage strong growth. Weed, weed and weed some more - do not let those pesky plants gain any ground or they’ll limit the amount of food and water your hedge plants have access to.
Lightly prune your plants after planting if needed to create an equal height across your hedge and to encourage bushy growth until your hedge has knitted together. For deciduous plants, a light prune to tidy or even things up after planting can be done, but avoid frosty conditions. After that, trim back by around a third of the new growth in autumn. Fast growing plants however, such as Hawthorn and Blackthorn benefit from new annual growth being cut back by around a half.
Evergreens differ slightly as some don’t really need cutting back at all until they are at the height you’d like, unless the side shoots are becoming a little unruly. These can be trimmed back after a year or so.
The ideal time to trim hedges is early spring or autumn. Not only does this avoid bird nesting time, but some hedges have fewer leaves making it easier to see what needs doing.
Finally, use a balanced fertiliser in spring for that added boost after winter.
Tip: Be patient! It takes time for newly planted hedging to establish. Don’t worry if things seem to be developing slowly as it’s normal for bare root plants to be slower to come into leaf or flower at first. Even evergreens can lose a few leaves or turn a little yellow - after all, they’ve just been uprooted, had a big journey and a new home all at once, so they need a little time to adjust!
The long-term benefits of bare root hedging
While it does take a little longer to grow a full hedge from bare roots, not only is it the most budget-friendly way of doing so, but it’s a rewarding process having nurtured it from young plants to a mature thriving hedge. A mature hedge provides a host of benefits aside from adding character, charm and privacy; it gives wildlife food and shelter and creates an attractive and sustainable boundary that is ecologically and environmentally friendly, and that with the right care and attention will last for many years to come.
Here at best4hedging, we have a wide range of hedge plants available during November-March/April. Explore all our bare-root hedging plants here.